I so often see people pouring syrupy glazes on hot hams that have not been allowed to cool off first. A lot of basting, a lot of opening and closing the oven door, puffing and panting…a lot of stress.
How to Cook a Ham
Here we go, but before I do, there are two ways to cook a green or cold smoked ham: Oven or Poach. I’m going for the latter as it gives you a delicious and plentiful stock that can be a real addition for either gravy or the days of cooking afterwards.
Ingredients
Method
- Lower your ham into a large pot of cold water. It should always be submerged!
-
Place four sticks of celery, one leek, 2 bay leaves and 8 peppercorns around it. Your water will need no salt. Poach at barely even a simmer, more a gentle wobble with a lid on, topping up with boiling water if needs be.
NOTE: Using a lid is good but remember that once on, the temperature can go from a simmer to a boil unrecognised and all too easily, so check. - Do not cook by timing as one woman’s oven is another man’s incinerator. Purchase a probe as meat thermometers are incredibly useful in their accuracy. You want the temperature to reach 66°C before taking out of the water. This will take approximately 70-90 minutes. Once taken out and the ham will still be cooking as the internal centre temperature of the meat will still be rising. The perfect ‘end’ temperature will be about 70-72°C.
- Allow your ham to cool completely.
- Cut the rind from the ham but carefully, so as to ensure as much fat is left on top as possible.
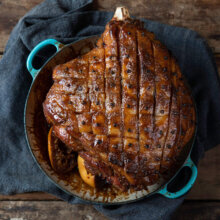
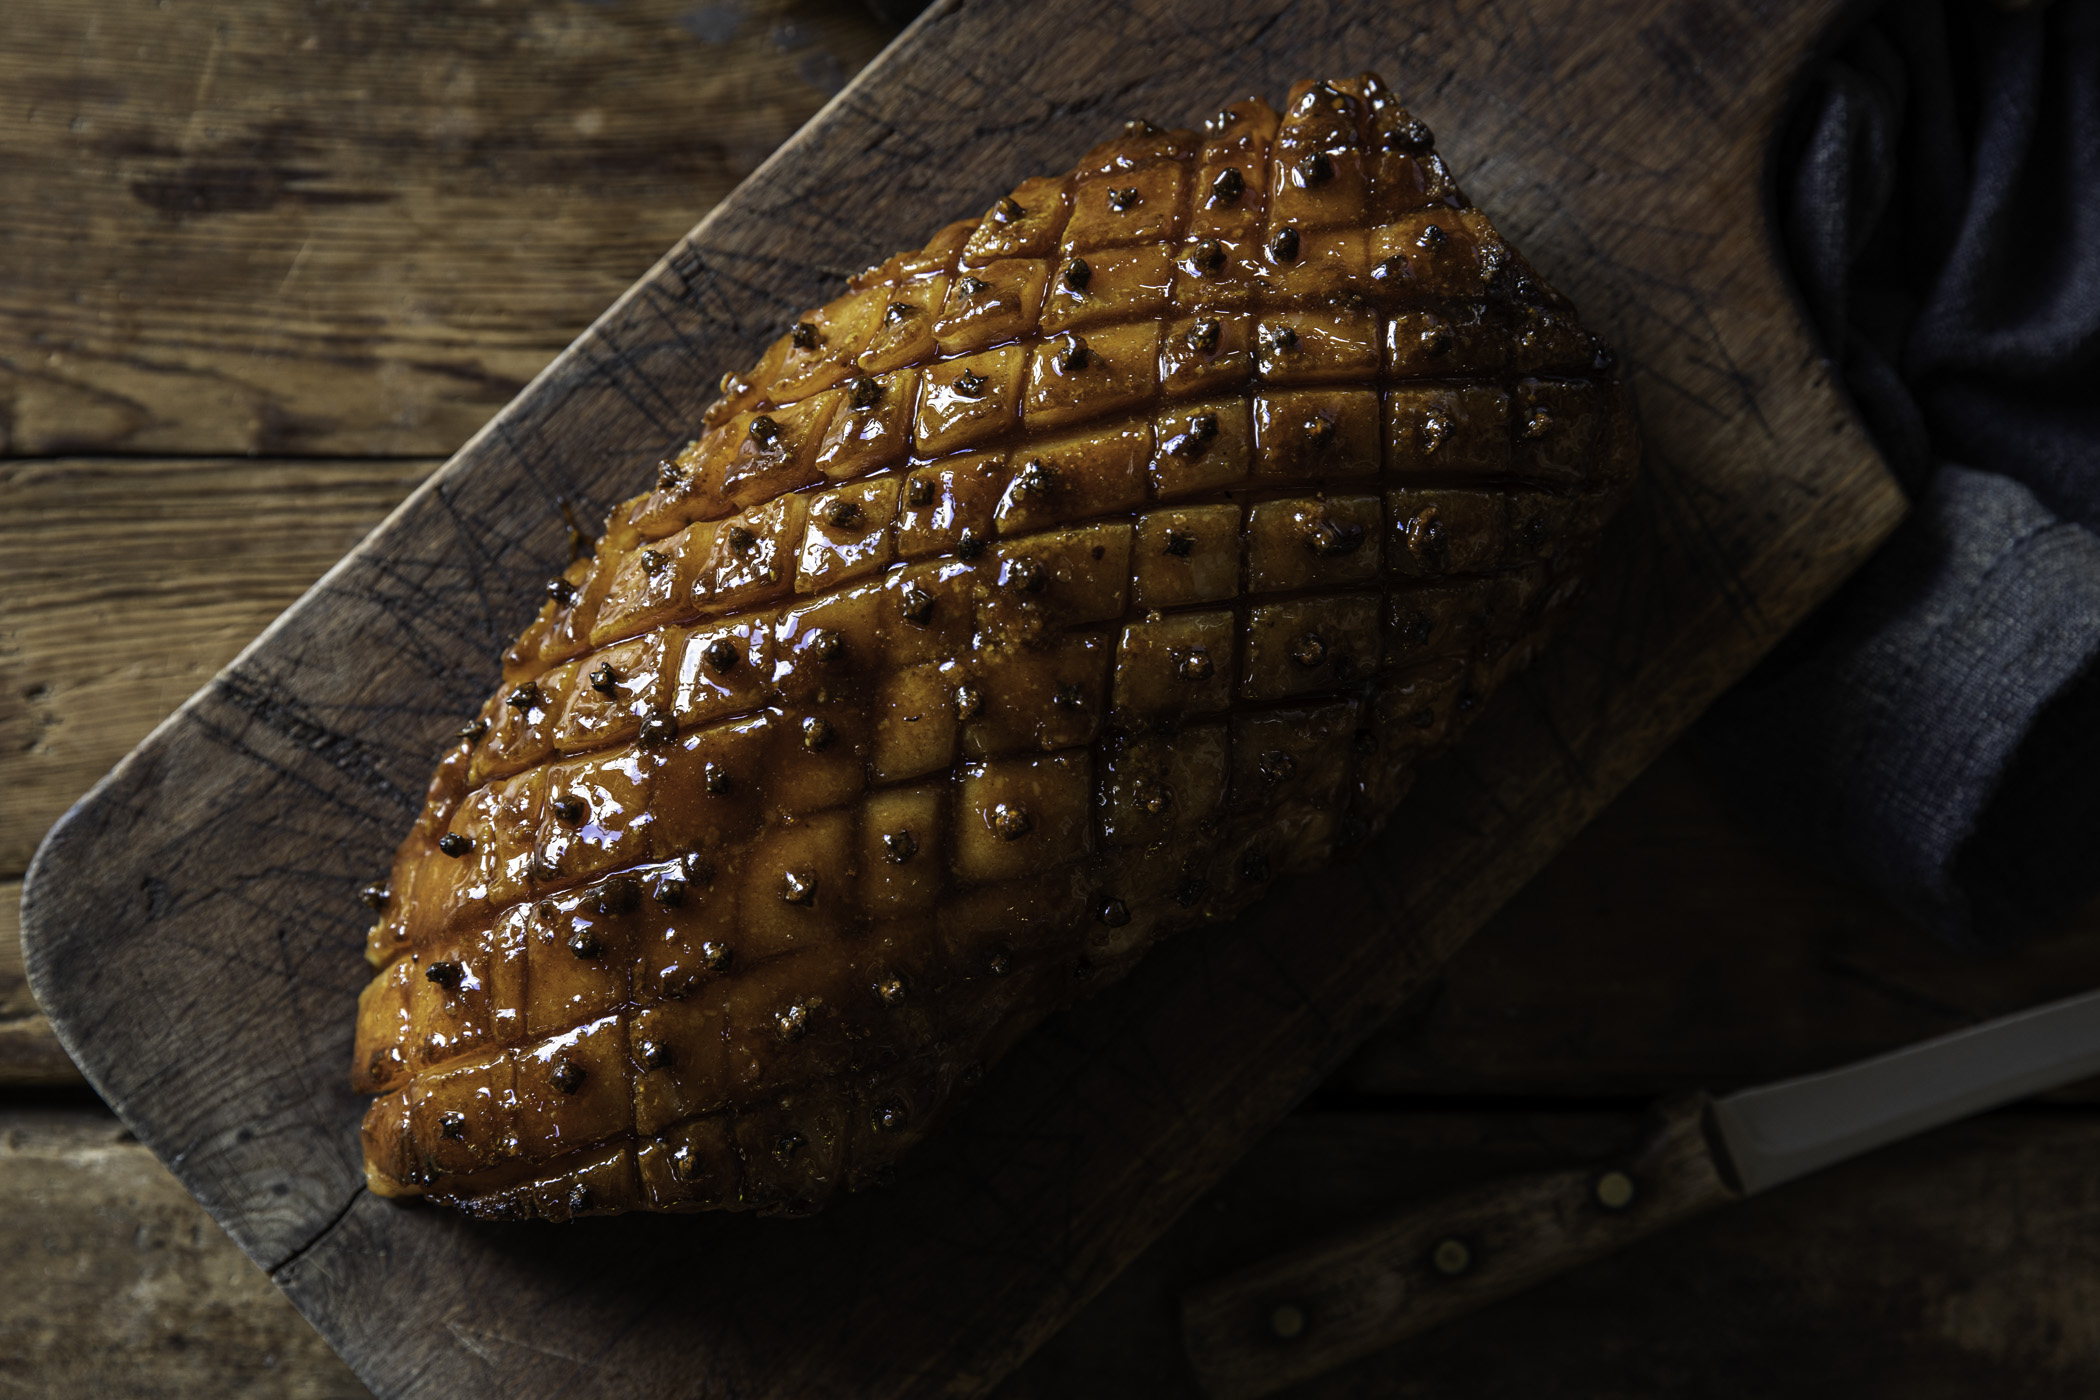
- Score about half a centimetre deep through the fat with a sharp knife making a diamond criss-cross to about the size of a postage stamp (so to speak). Plug a clove in the middle of each square.
- Turn the grill to high but making sure the shelf is not too close to the element.
- Line the baking tray with foil as paper will burn and rest the ham on top, fat side facing up.
- Mix the mustard powder, ground coriander, salt, and pepper.
- Making sure it lands on the fat, not the work surface, dust the ham well and thoroughly. Pat the mixture down only very gently.
- Next sprinkle the sugar evenly over the top.
- Trail 4 tablespoons of the honey over the top and immediately sit it under the grill.
- After about 6 minutes (with the door fractionally open) give it another spoonful of honey. The sugars should be bubbling and browning well.
- Use scrunched up tin foil to prop up any less done parts that need to sit up under the grill.
- You still have one more spoonful of honey in reserve.
- When browned remove.
- WARNING: Burn or over brown and you will create a sugar armour on the ham that will make slicing difficult.
- Your ham is ready for slicing.
Your ham must be allowed to completely cool before stage two, Glazing.
- When glazing use a liner in the bottom of the tray as caramelized or burnt sugars can be a real pain to get off.
- Make sure rind is removed before basting.
- By adding a ‘powder layer’ of English mustard, ground coriander and then the granular sugar it allows more gooey additions of honey or molasses a proper chance to settle and stick instead of running off.
- If your ham is only glazing well in places due to a steep run off, then I use scrunched up tin foil to prop it in position if any turning is needed.
