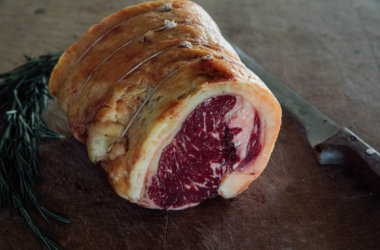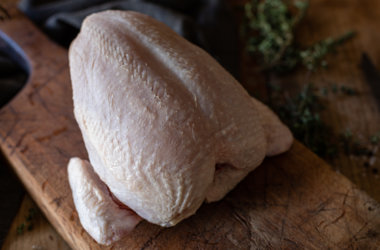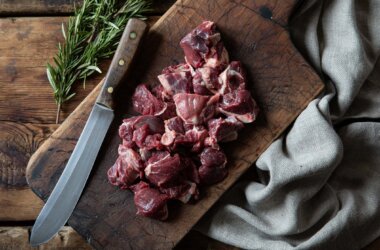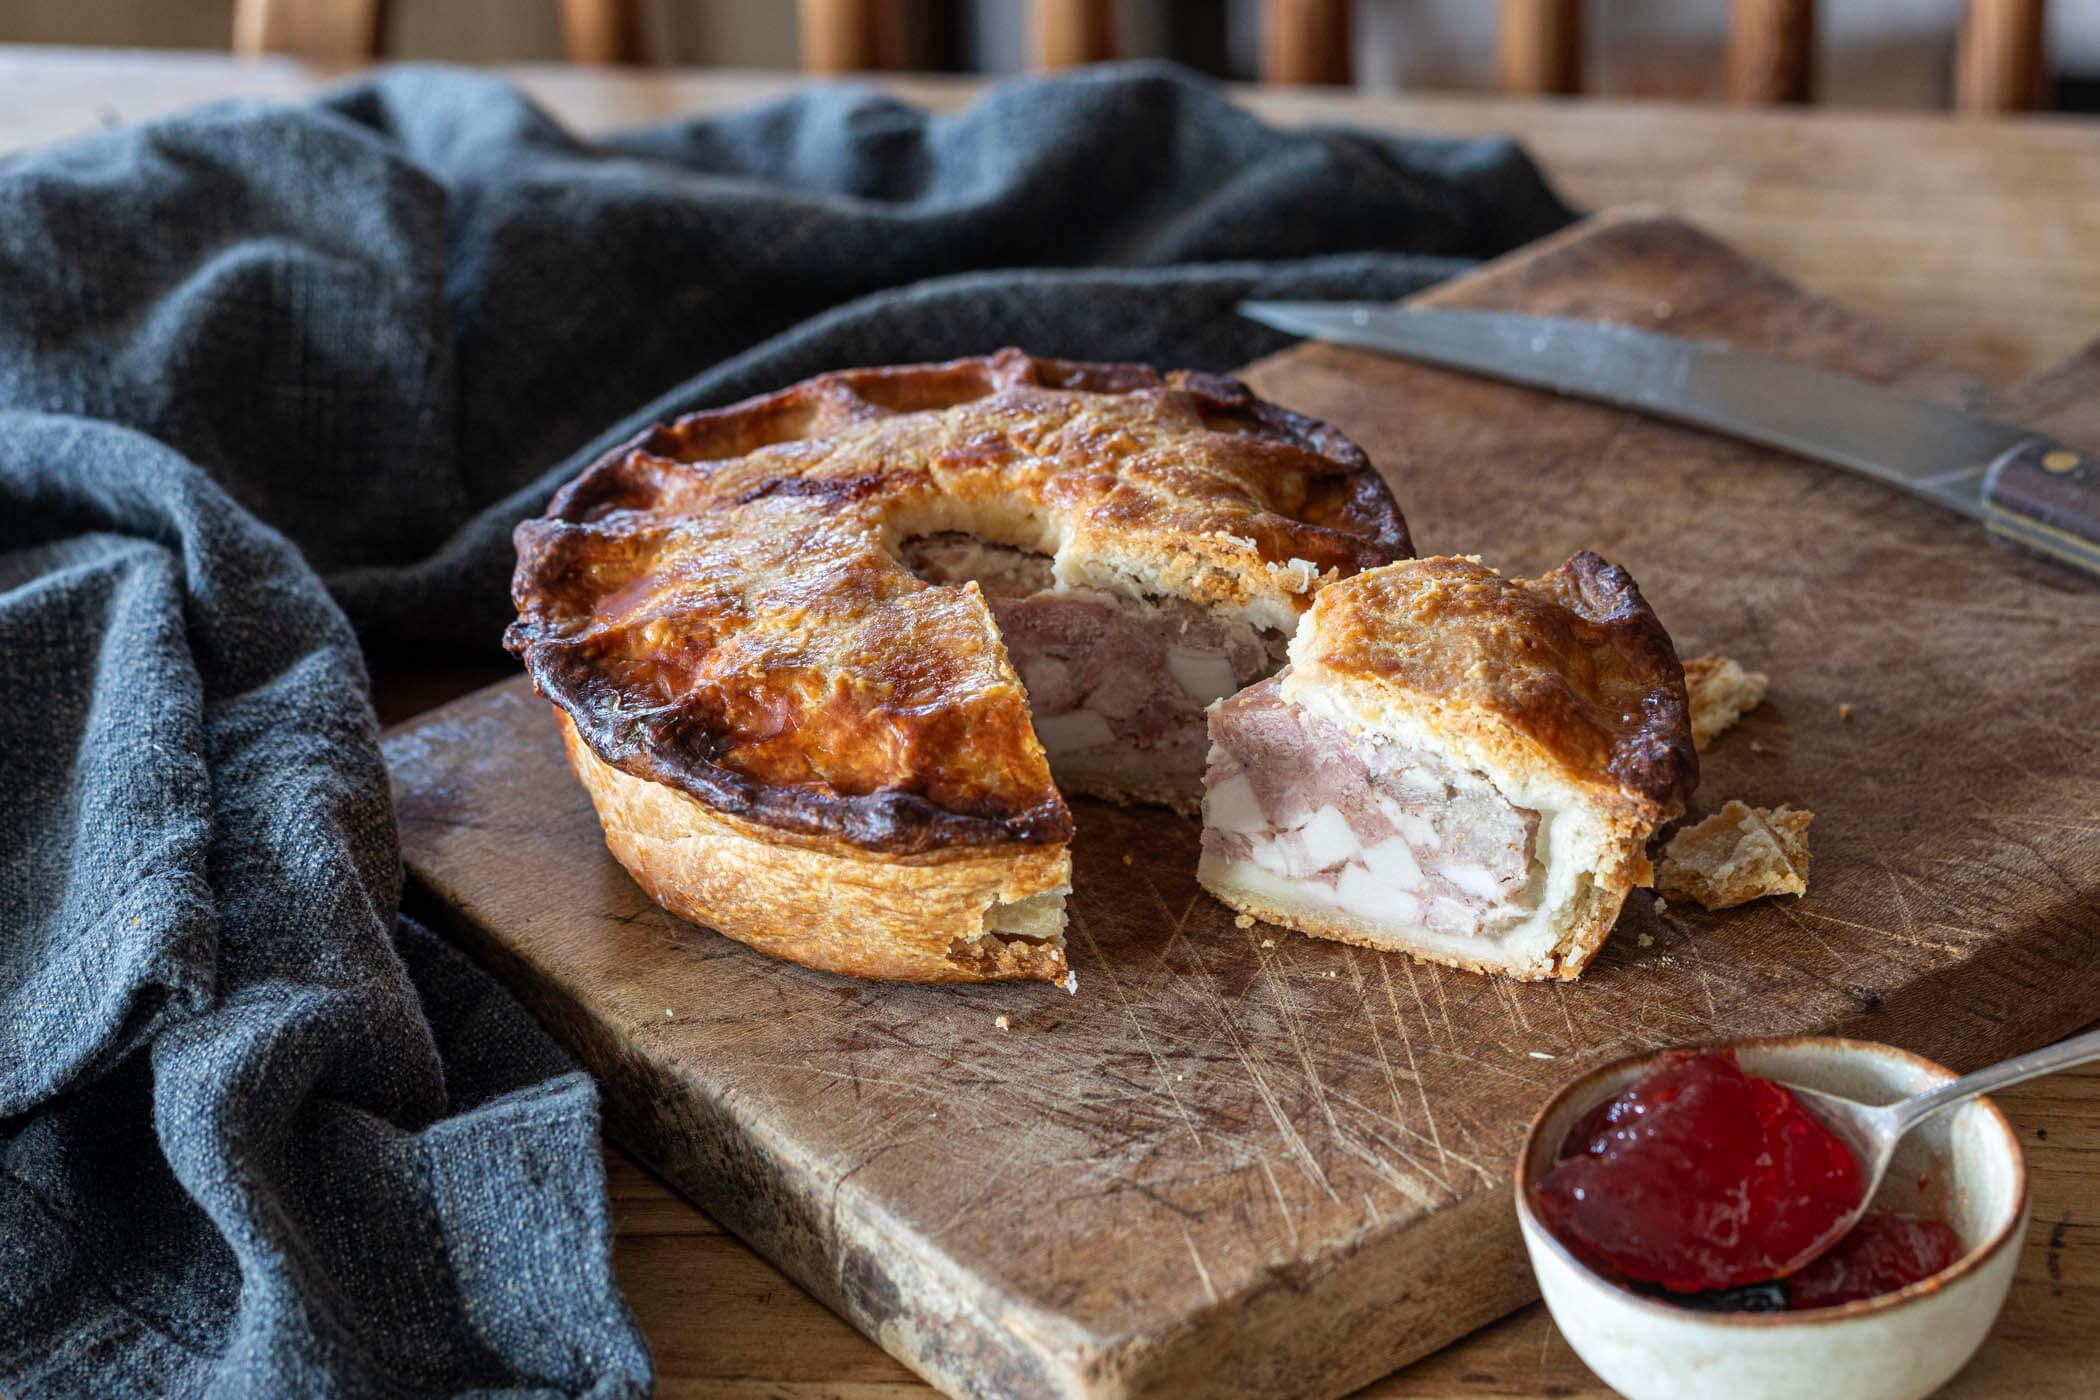
Join me on a journey – a journey towards the most perfect of centrepieces, fit to adorn any table. A pork pie recipe that is both rustic and ambitious, a nod to the days when a pie was a common sight in farmhouse kitchens and pantries across the country.
A pie in this form would traditionally have been a method of preserving – a kind of charcuterie in one of its crudest guises. Coarse meat wrapped in meat jelly and larded pastry, it provided a double layer of protection from the elements, preserving the meat for days before eventually feeding the family. Nowadays, we have fridges and supermarkets, online butchers, and artisan bakeries, so we don’t rely on pies in quite the same way. But that shouldn’t deter us from making one. All the time and effort that goes into this recipe is well worth it.
One thing you may notice about this recipe is that you’re going to have leftovers of both the rump ham and the pork belly. Fear not, this is a good thing. The ham can take care of itself – use Val’s Glazed Ham Recipe and feast on delicious ham sandwiches for the next week. With the belly, the possibilities are virtually endless – perhaps a crack at my Taiwanese Pork Belly Bao Buns with Pickled Vegetables?
So, put down Jamie’s 15-Minute Meals and indulge in some traditional, slow food cookery. By the end of this adventure, you’ll have something of unparalleled deliciousness.
Serves 8-10
Ingredients
Makes: 2 medium-sized pies, serving approximately 8–10 people.
For the Pastry:
For the Jelly:
Method
Preparing the Jelly
The jelly requires at least 4 hours to make, so it’s best to start this first—perhaps the day before you plan to use it:
- Simmer the Trotters: Place the pig’s trotters in a suitably sized pot and cover them with cold water. Bring the water to a boil, then reduce it to a gentle simmer.
- Skim and Add Ingredients: Skim off any scum that rises to the surface. Add the onion, carrot, celery, bay leaves, and peppercorns. Allow the mixture to cook at a gentle simmer for 4 hours. Partly cover the pot with a lid to minimise evaporation while still letting steam escape.
- Cool and Strain: After 4 hours, turn off the heat and let the liquid sit for 30 minutes.
- Chill the Jelly: Strain the liquid through a fine sieve, discarding the solids, and transfer it to the fridge to chill overnight.
This slow, deliberate process ensures a rich, flavourful jelly that’s perfect for your pork pie.
Making the Pastry and Shaping the Pie
- Melt the Lard: Place the lard and water into a saucepan and set it over medium heat. Cook until the lard has completely melted.
- Combine Ingredients: Tip the flour and 2 teaspoons of sea salt into a large mixing bowl. Carefully pour in the hot lard and water mixture.
- Form the Dough: Stir the mixture together with a wooden spoon (caution, the liquid will be hot!), then begin to knead gently with your hands until the dough comes together into a smooth ball.
- Rest the Dough: Cover the dough and set it aside to cool for around 30 minutes.
- Prepare the Mould: Find a suitably sized object to form the pies around. Traditionally, hand-raised pies use a pie “dolly”- a wooden cylinder for shaping. If you don’t have one, a round object like a small cake mould (about 10 cm in diameter) will work perfectly.
- Shape the Base: Divide the dough into three pieces. Take one piece and place it on the base of your chosen mould. Gently shape the dough around the mould with your hands, ensuring the pastry is evenly spread, about 7-8 cm deep and 3 mm thick. Repeat this process with the other two pieces of dough.
- Chill the Pastry Shells: Place the moulded pies in the fridge to chill until the pastry firms up. Once cooled, carefully remove the moulds, leaving the pastry shells intact.
- Prepare the Lids: Take the remaining dough, divide it in two, and roll each piece into discs about ½ cm thick. These will serve as the lids for your pies.
This method ensures a robust, beautifully shaped pastry ready to house the delicious pork filling.
Preparing the Filling
- Toast the Spices: Place the peppercorns, mace, fennel seeds, cloves, star anise, and juniper berries in a dry pan. Toast over medium heat until their aromas are released.
- Grind the Spices: Transfer the toasted spices to a pestle and mortar (or use a spice blender) and grind them into a fine powder.
- Mix the Filling: In a large mixing bowl, combine the pork mince, diced pork belly, and diced ham. Season with salt and add two teaspoons of the freshly ground spice blend. Mix thoroughly with your hands to ensure the seasoning is evenly distributed.
- Test for Seasoning: Heat a small frying pan and cook a little ball of the mixture. Taste and adjust the seasoning if necessary before proceeding.
This step ensures your filling is perfectly seasoned and packed with flavour, ready to fill your hand-raised pastry shells.
Assembling the Pies
- Fill the Pastry Shells: Spoon the pork mixture into the prepared pastry shells, filling them no more than three-quarters full. Press the mixture firmly into the corners to ensure there are no gaps.
- Prepare the Lids: Trim the pastry lids so they match the size of the pies. Place a lid on top of each filled pie and crimp the edges together, pinching firmly with your fingers to ensure a good seal between the lid and the base.
- Egg Wash and Vent: Brush the tops of the pies generously with beaten egg. Then, use a small knife to cut a hole in the centre of each lid. This vent will allow steam to escape during baking, helping to keep the crust crisp and golden.
Your pies are now ready for baking, with their rich filling securely encased in beautifully crimped pastry.
To Cook the Pies
- Preheat the Oven: Set your oven to 220°C.
- Bake the Pies: Place the pies on a baking tray lined with parchment paper and bake for 35 minutes.
- Lower the Heat: Reduce the oven temperature to 180°C and bake for an additional 20 minutes.
- Prepare the Jelly: While the pies are cooking, heat the jelly in a saucepan over medium heat. As it simmers, skim off any fat or scum that rises to the surface. For a clearer finish, you can clarify the jelly if desired. Season with salt and a splash of vinegar to taste.
- Cool Slightly and Fill with Jelly: Remove the pies from the oven and let them cool slightly for 10 minutes. Pour the hot jelly into the vent hole on top of each pie. Keep topping up every 5 minutes as the cooling meat shrinks, creating more space for the jelly. Continue until the pies are completely filled.
- Set and Chill: Allow the pies to cool at room temperature for several hours to let the jelly fully set.
- Storage: The pies will keep well in the fridge for at least 5 days, making them perfect for planning ahead or enjoying leftovers.
These steps ensure a beautifully set jelly and perfectly cooked pies, ready to impress!

